

Epoxy Resin Wood Floating Shelf
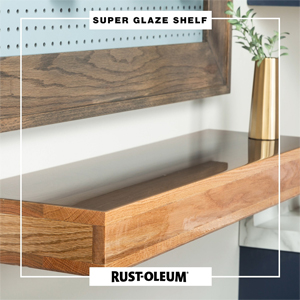
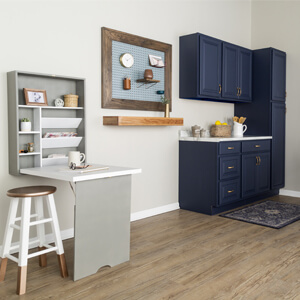
Use Varathane Tinted Super Glaze epoxy resin to add color, protection and shine to a floating wood shelf.
- Working in a well-ventilated area, protect your work space with plastic sheeting or a tarp.
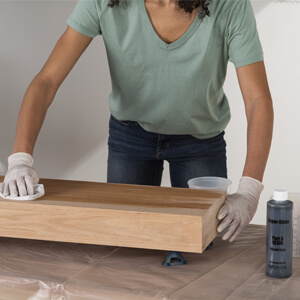
- Wipe down wood shelf with rubbing alcohol and a lint-free cloth to remove any dust particles that may be on the surface.
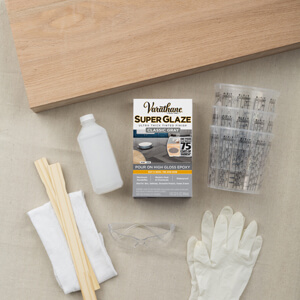
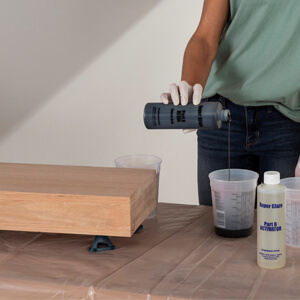
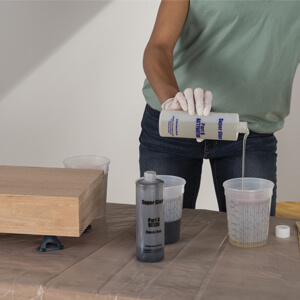
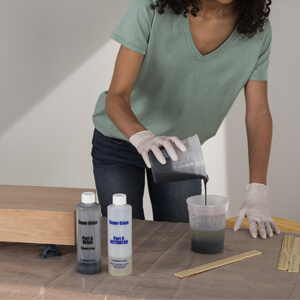
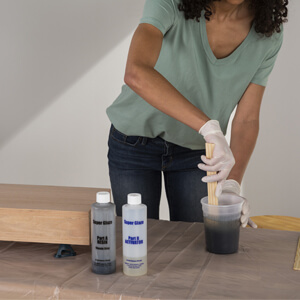
- Pour equal amounts of Varathane Tinted Super Glaze epoxy resin (Part A) and activator (Part B) into separate mixing cups or containers. Carefully pour the measured epoxy resin (Part A) into the container with measured activator (Part B). Mix thoroughly and gently with a stir stick for a minimum of 3 minutes, but no more than 5 minutes. Pour the mixed resin and activator into a clean container. Mix thoroughly with a stir stick for an additional 3 minutes and try to prevent air bubbles from entering the mixture.
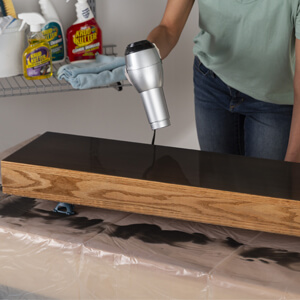
- Super Glaze will begin to cure as soon as the base is mixed with the activator. Pour immediately after mixing. Surface bubbles MUST be removed when the surface is still wet. A hair dryer on low setting can be used to help pop bubbles that may rise to the surface.
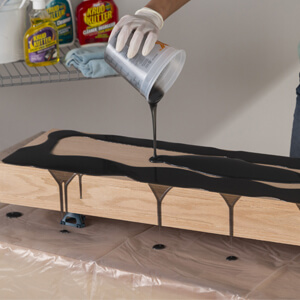
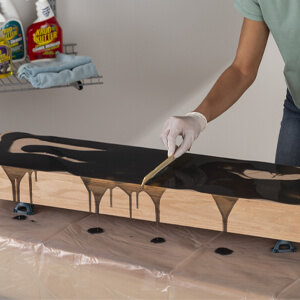
- Pour the epoxy resin mixture onto center of the wood shelf and then spread gently with a wood or plastic spreader or rubber squeegee in a single direction over the entire surface. Using a spreader, guide the mixture to the edges of the shelf to ensure even coverage. Do not continue to spread material once it starts to set up, otherwise it will not self-level during the curing process.
- Please be sure to read all instructions and tips included in the kit before using Super Glaze.
- Allow the sealer to cure for at least 4-5 hours in a dust-free area before additional layers of Tinted Super Glaze are applied. Allow the epoxy resin to fully cure for 72 hours in a dust-free area.
Tip: After the epoxy resin has cured at least 4-5 hours, carefully use a utility knife or razor blade to remove any dried drips from the edge of the surface.


Locate a Rust-Oleum Retailer
Rust-Oleum products are sold at retailers across the country. Use our store locator to find Rust-Oleum products at retailers near you.


